I wish I had taken a pic of the inside of this, but it was DELICIOUS! I love things that come out my head, and on to the table the right way the first time. I know chicken pot pie has been around forever, but making it on my own with out a recipe was pretty cool! (And vegetarian)
Recipe:
2 stalks celery chopped
2 carrots peeled and sliced
4 small golden Yukon potatoes peeled and diced
1 small yellow onion chopped
1 lg clove of garlic minced
1 1/2c Chicken broth (or 'no chicken broth' love this stuff!!)
1/4c sharp cheddar cheese
1/8c half&half
1-3 TBS of flour
1c cooked chicken or 2 microwaved veggie "chicken" patties chopped
2TBS olive oil
2TBS butter
1tsp sage
1tsp paprika
1tsp thyme
2 bay leaves
2tsp salt
2tsp pepper
2 cans of regular crescent rolls
Preheat Oven to 400
Saute veggies with oil and butter until onions are tender.
Add broth and bay leaves and boil on high for about 10mins.
Turn down to medium heat, and add spices and flour.
Stir until thick, add half&half, cheese, and cooked chicken.
When everything is incorporated start on the crust! And remove filling from heat.
In a pie pan spray and layer bottom with 1 can of crescent rolls. Bake 5 mins.
Remove this from the oven and add filling. Then top with 2nd can of rolls.
Bake 10-15mins!
Pull out golden brown, and amazing from scratch filling of chicken pot pie! Delish!
I made this page so I could create pins, and maybe a few insights along the way!
Sunday, November 18, 2012
Sunday, November 11, 2012
DIY Curtain Rod with Final for $4.33 !
I know you are wondering: How did you cut the Price of a curtain rod for a large window down to $4.33?? Well I have the answer! Its called Electric Conduit, Wood Candle Cup, and Spray Paint!
I have really large windows in my house of all sizes. Some are 7ft wide, others are only 5ft. But no 2 are the same! So I stumbled upon the idea of making my own curtain rods instead of purchasing the $17 adjustable option for each window. And $17 is the CHEAPEST I could find to fit a window over 48"!
Enter the awesome product of Electric Conduit. Sold at my Home Depot for a whopping $2 per 10ft pipe! Its 1/2in diameter, sturdy, light, and easy to paint! They cut it for you in the store, so I could have a rod for each unique window.
You could just stop there. Mount it on the wall with fabric loops (the cheapest of my options so far), or buy regular curtain mounting hardware. But I didn't like the look of the open end of the pipe hanging out, and when I went to buy already made 'curtain finals' (aka the decorative ball thing on the end of the rod) I discovered they too are outrageously expensive! The cheapest I could find of those was about $8 for a set of 2! Whoa! Or you can follow my lead and go to your craft store where they have Candle Cups. These are little wood pieces that have a 7/8in hole and with a little hot Glue will fit perfectly on the end of my 1/2in rod, and they are fairly narrow, so I can still slide the curtain on and off around them! These were only $2 per 6 pack!! Perfect!!
So I bought them all, headed home and got to spray painting! This is a messy job, so I am fortunate to have the space to do it outdoors. I would NOT recommend doing this near anything that you want paint on. I am not a professional so it ended up all in my hair, and on my hands! But they look great! I will post another blog on my diy curtains this week!! Stay tuned!
These are the Candle Cups. Nothing Fancy, but I think they'll look nice!
I have really large windows in my house of all sizes. Some are 7ft wide, others are only 5ft. But no 2 are the same! So I stumbled upon the idea of making my own curtain rods instead of purchasing the $17 adjustable option for each window. And $17 is the CHEAPEST I could find to fit a window over 48"!
Enter the awesome product of Electric Conduit. Sold at my Home Depot for a whopping $2 per 10ft pipe! Its 1/2in diameter, sturdy, light, and easy to paint! They cut it for you in the store, so I could have a rod for each unique window.
You could just stop there. Mount it on the wall with fabric loops (the cheapest of my options so far), or buy regular curtain mounting hardware. But I didn't like the look of the open end of the pipe hanging out, and when I went to buy already made 'curtain finals' (aka the decorative ball thing on the end of the rod) I discovered they too are outrageously expensive! The cheapest I could find of those was about $8 for a set of 2! Whoa! Or you can follow my lead and go to your craft store where they have Candle Cups. These are little wood pieces that have a 7/8in hole and with a little hot Glue will fit perfectly on the end of my 1/2in rod, and they are fairly narrow, so I can still slide the curtain on and off around them! These were only $2 per 6 pack!! Perfect!!
So I bought them all, headed home and got to spray painting! This is a messy job, so I am fortunate to have the space to do it outdoors. I would NOT recommend doing this near anything that you want paint on. I am not a professional so it ended up all in my hair, and on my hands! But they look great! I will post another blog on my diy curtains this week!! Stay tuned!
![]() |
| I did these in blue to match my metal art already in my bedroom, and also did a set of tan for the downstairs windows! |
These are the Candle Cups. Nothing Fancy, but I think they'll look nice!
Friday, November 9, 2012
Focused Time Out!
When my Daughter earns a 'time out' its usually for having attitude or general lack of focus to the point she needs to be redirected firmly. This is my newest addition to our 'Time Out' Jar: Sorting Beads! I'm hoping this can calm her, and restore her to her sweet self, and help me not critique her every move while shes wiggles defiantly in her chair.
I found the greatest link on Pinterest for other ideas to put in the Jar. Check it out! http://imom.com/parenting/tweens/parenting/training/21-creative-consequences/
Now instead of me thinking of consequences in anger, I can let the jar decide! Its better for her and my conscience!
Friday, September 14, 2012
Easy Curry!
Some of my friends have been asking for this recipe so I thought I would share it on here for them. Curry usually scares people, but honestly the definition of curry is just a paste, spice or sauce. It does NOT mean its spicy. Indian dishes are known for their aroma and unique flavor, which I love. However, they have secrets that I am no where close to, so I use a store bought paste! And no it is not the same as the restaurant but it is very tasty, and healthy! Leaving out the cream and butter easily makes this dish vegan!
Ingredients:
1can Mixed Veggies
1can Garbanzo Beans
1/2c Chopped white or yellow onion
2 tbs Mild Curry Paste (I use Pataks)
small Fresh Ginger root
2 cloves Garlic
4tbs Olive Oil
2tbs Butter
2tbs Heavy Cream
1.5c Any rice (I use Basmati)
2c Water
RICE: Peel Ginger. Then slice ginger like you would a carrot. I like to save one slice for the curry and drop the rest of the slices into the water. Once the water is boiling add the rice and when the water returns to a boil, turn it down to med, cover and let it do its thing. It might boil over some, and you can stir it then, but other than that I would leave it alone, until its fluffy and all the water has pulled out of the pot!
STARTING THE CURRY: Chop onions and saute with butter and oil until tender.
When the onions are tender add garbanzo beans, then make a little circle in the middle of your pan so you can cook the paste. I add a little extra oil then dollop the paste into it. Let it cook there for a 3-5 minutes, you can spread it out in the little circle but don't mix it with the onions and chic peas until at least 3 minutes have passed. This is also when I add the extra slice of ginger(chopped) and chopped garlic.
**Don't forget to rinse your canned beans! They come in a very salty gooey water that isn't very appetizing and not very good for you! These beans are packed with nutrition, there's no reason to keep the water. And no, that's not soap in my strainer, that's the gooey water foaming.. bleh!
After the 3-5 minutes mix the vegetables(drained) and the curry all together. Let these simmer together for a few minutes.
When they are all mixed together, give it a taste! If this blend is "Curry-y" enough for you, then leave it be! I like mine a little more flavorful, So I do the little circle again, and this time with a little pad of butter.
After you wait the 3-5 minutes for the 2nd paste to cook, mix it all in.
After you have it the way you want it, add the heavy cream and stir all together. Don't forget to heat up some Naan Bread to make this dish complete! Its delicious and a great way to scoop up your leftovers:)
Enjoy!!
Tuesday, July 31, 2012
Leftovers Rolled Over Quiche!!
5 eggs • 1/2c tomatoes • 1/2c chopped asparagus • 1/2 chopped onion • 1/4c chopped yellow pepper • 1 roll pie crust • 1/8c heavy cream • 2tsp chopped chives • 1tsp garlic powder • 1tsp curry powder • 2tsp salt • 2tsp pepper • 1/2c shredded cheese
•Preheat oven to 400 place pie crust on pan and cook for 5-7 mins
•beat eggs with heavy cream and spices
•pour into slightly baked crust
•fill with chopped veggies (any veggies will do, I just use whatever I have leftover)
•bake for 10-12mins (until egg looks almost done)
•cover with cheese and bake for another 10 mins
•Slice and eat!! I like to add a little texas pete for a kick!
This can be made with any cheese or veggies, super easy, and delicious!
Monday, July 30, 2012
BEST Old Fasioned Lemonade!
•Best Lemonade EVER!•
Ingredients:
2c Sugar • 5 Lemons• Water
1. Roll all your lemons!! It really helps the juice squeeze out later
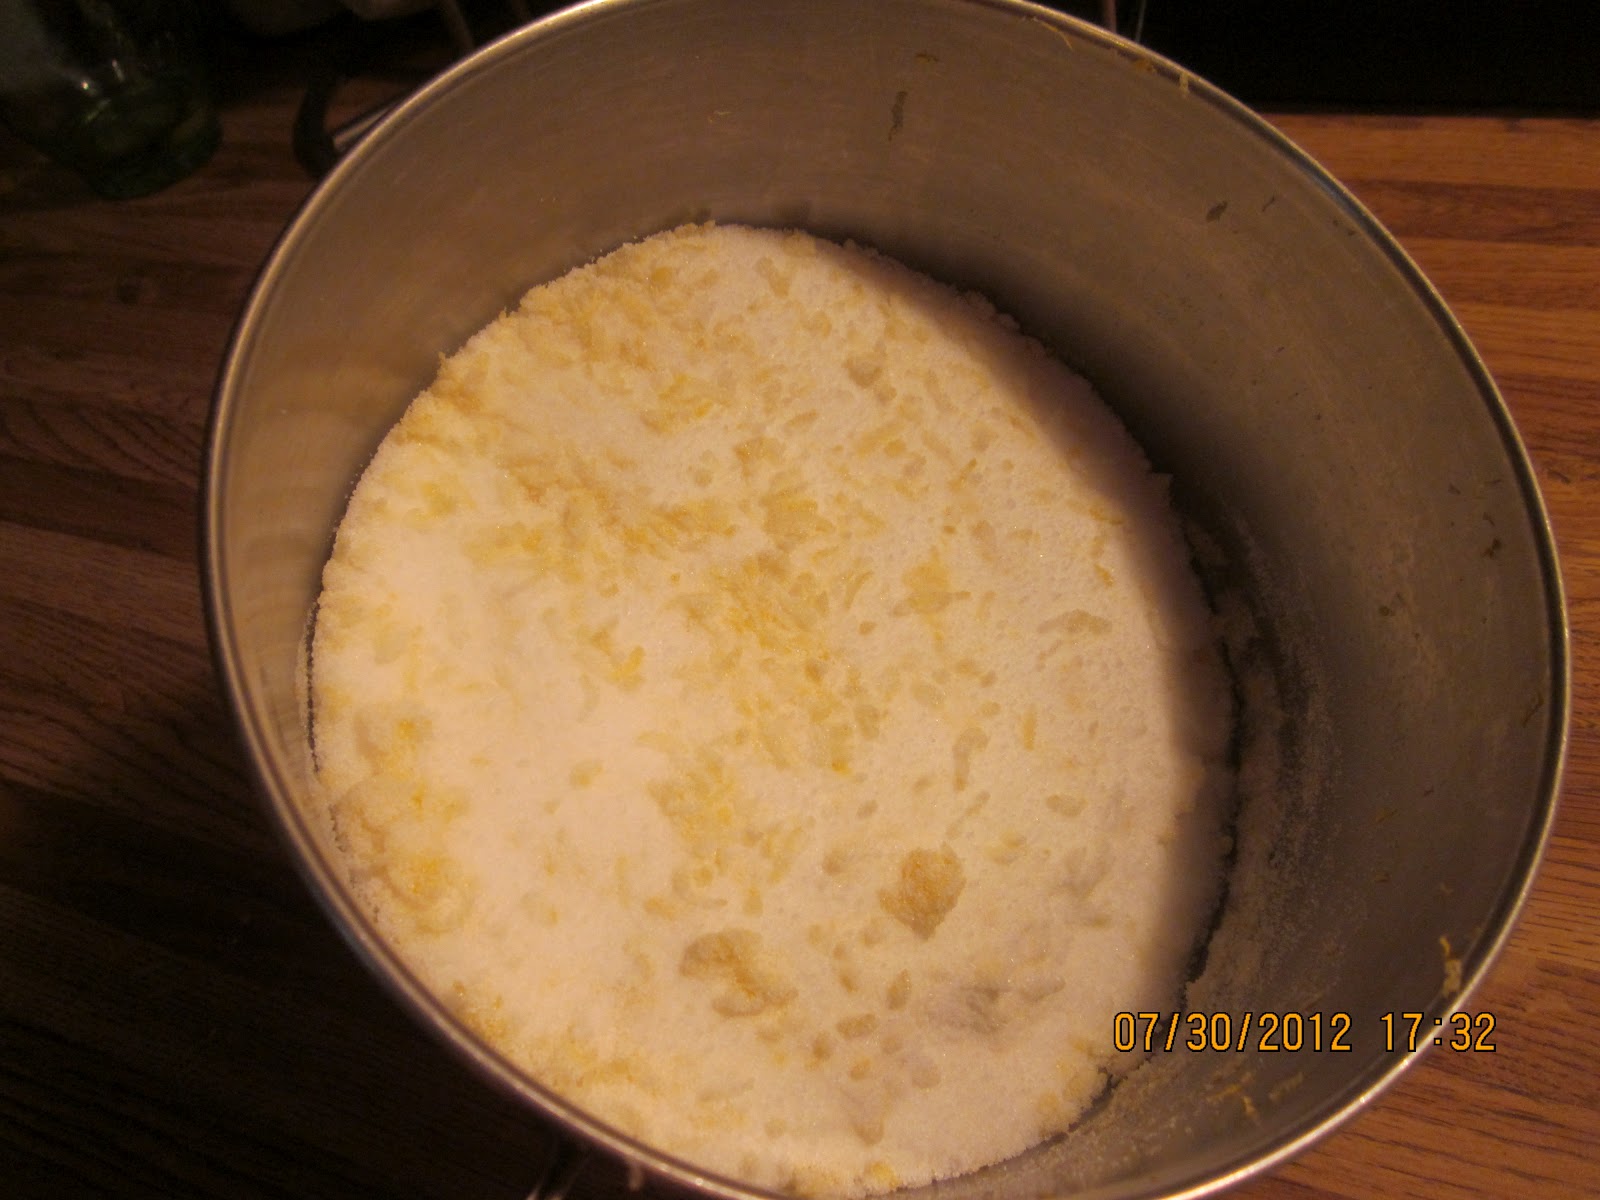
2. Grate or Peel off lemon rind for 3 lemons. JUST THE YELLOW! If you get too much white, it will taste awful!
3. Mix the lemon rind into your sugar, and let this sit while you juice your lemons.
Juice all 5 of your lemons.
Mix 2c of water into your 2c of sugar, and heat on the stove until all the sugar is dissolved. About 5 mins on med-high heat.
Pour lemon juice and sugar water through a strainer into your pitcher.
Fill pitcher the rest of the way with water and enjoy!!!
Makes 1 Gallon!!!
Saturday, July 28, 2012
Smilely Pizzas! Healthy and fun!
Don't forget to have fun with dinner!! These are whole-wheat sandwich thins, with our favorite toppings!! Easy, healthy, and fun!!
Subscribe to:
Posts (Atom)


.jpg)
.jpg)
.jpg)
.jpg)
.jpg)
.jpg)
.jpg)